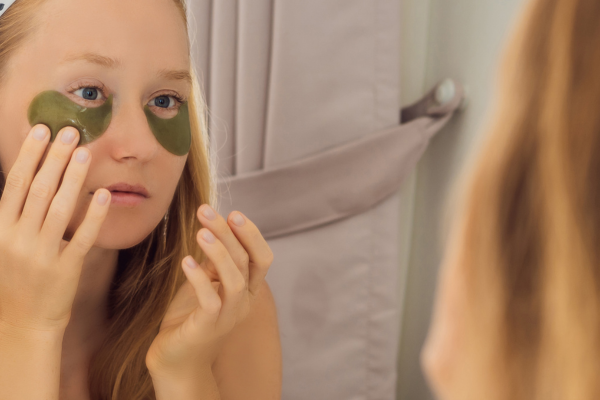
How to Make Your Own Cooling Gel Eye Mask
Share
Are tired, puffy eyes dragging you down? A cooling gel eye mask can be a game-changer for those looking to unwind, reduce puffiness, and give their eyes a rejuvenating break. While you could buy one, making your own DIY cooling gel eye mask is affordable, fun, and fully customizable. In this guide, we’ll walk you through a simple step-by-step process to create a soothing eye mask that will bring spa-like comfort right to your home.
Benefits of a Cooling Gel Eye Mask
Cooling gel eye masks are a staple for anyone looking to relax and refresh their appearance. Here’s why:
- Reduces Puffiness: The cool temperature helps decrease inflammation around your eyes.
- Soothes Headaches and Sinus Pressure: The cooling sensation can provide relief from headaches and sinus discomfort.
- Revitalizes Tired Eyes: It’s perfect for unwinding after a long day or staring at screens.
- Promotes Better Sleep: The calming effect encourages deeper relaxation, helping you wind down for restful sleep.
Materials Needed
To make your cooling gel eye mask, you’ll need a few affordable and easy-to-find items:
- Reusable plastic or fabric eye mask (available online or in craft stores)
- Aloe vera gel (for a soothing effect)
- Distilled water
- Food-grade coloring (optional) to give your mask a relaxing look
- Zipper bag (optional, to store the gel)
Step-by-Step Instructions
Step 1: Prepare the Gel Mixture
In a small bowl, combine equal parts aloe vera gel and distilled water. Mix thoroughly until you reach a smooth, gel-like consistency. If you'd like a bit of color, add one or two drops of food coloring. Make sure not to add too much, as it may stain the mask.
Step 2: Fill Your Eye Mask
Using a spoon or small funnel, carefully fill your eye mask with the gel mixture. Be mindful of overfilling, as it might make the mask too heavy or messy. Seal the mask tightly to prevent leaks.
Step 3: Freeze or Refrigerate
Place the mask in a zippered bag to protect it from any frost and odors, then put it in the freezer for 10-15 minutes or in the refrigerator for about 30 minutes. This will make the mask cold enough for a refreshing, cooling effect.
Step 4: Use and Enjoy!
Take the mask out, give it a few minutes to reach a comfortable temperature, and place it over your eyes. Lay back and relax as the mask works its magic to refresh and soothe your eyes.
Tips for Best Results
- Clean the Mask Regularly: Wipe down the mask with a mild antibacterial wipe after each use to keep it clean and hygienic.
- Keep a Spare: Make a couple of masks and keep one in the fridge so you always have a fresh, cooling mask ready.
- Experiment with Essential Oils: A few drops of lavender or peppermint oil in the gel mixture can add a relaxing or invigorating aroma to the mask.
Final Thoughts
Creating your own cooling gel eye mask is an easy, affordable way to elevate your self-care routine. Not only does it help reduce puffiness and revitalize tired eyes, but it also gives you a personalized, spa-like experience at home. Try this DIY project today for a refreshing twist on self-care!
